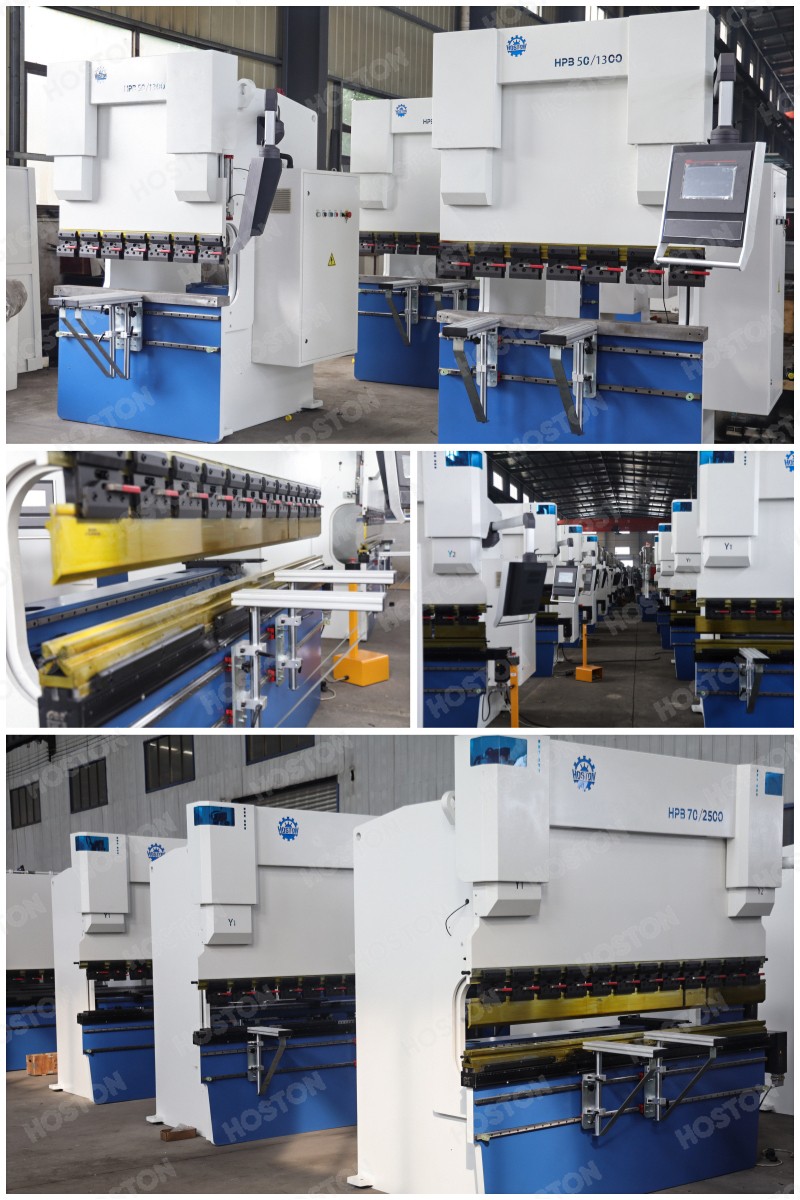
Generally speaking, the better the mold of CNC PRESS BRAKE and the simpler the programming operation, the higher the popularity in the market. Let’s follow me to learn the steps of programming the CNC PRESS BRAKE:
1. Power on CNC PRESS BRAKE
First, we need to turn on the power of the machine, turn on the switch directly on the machine body, and then press the oil pump start switch. When the oil pump is heard to start normally, it will idle for 60-100 seconds;
2. Stroke adjustment test
We need to perform a stroke adjustment test on the CNC PRESS BRAKE to ensure that there is a gap of sheet thickness when the upper mold of the machine moves down to the bottom. Otherwise, the abrasive tools of the machine will be damaged and the service life of the CNC PRESS BRAKE will be affected;
3. Selection of bending notch size
In this step, we need to select the notch size for bending in the program. If the product is a 6mm sheet, then we need to choose a notch of about 48mm. The selection basis is 8 times the width of the sheet thickness. This is Fixed normal range values;
4. Backgauge adjustment specifications
We need to confirm whether the position and size of the backgauge conform to the programmed size;
5. Stomp and start working
After the above four procedures and steps are completed, as long as we step on the pedal, we can start the product bending process. It should be noted that the pedal of the CNC PRESS BRAKE can be released at any time, and releasing it means stopping the work;
CNC PRESS BRAKE have a high usage rate, so we need to frequently check the overlap of the upper and lower dies, the oil level of the oil cylinder, the oil circuit seal, and whether the pressure gauge is normal. We also need to do daily lubrication and regular maintenance. Only in this way can the machine have a longer service life and there will not be so many faults during operation!

Copyright © Jiangsu Hoston Machine Tools Co., Ltd. (Hongkong Hoston Group CO., LIMITED)All Rights Reserved | Sitemap Technical Support: 
![]()